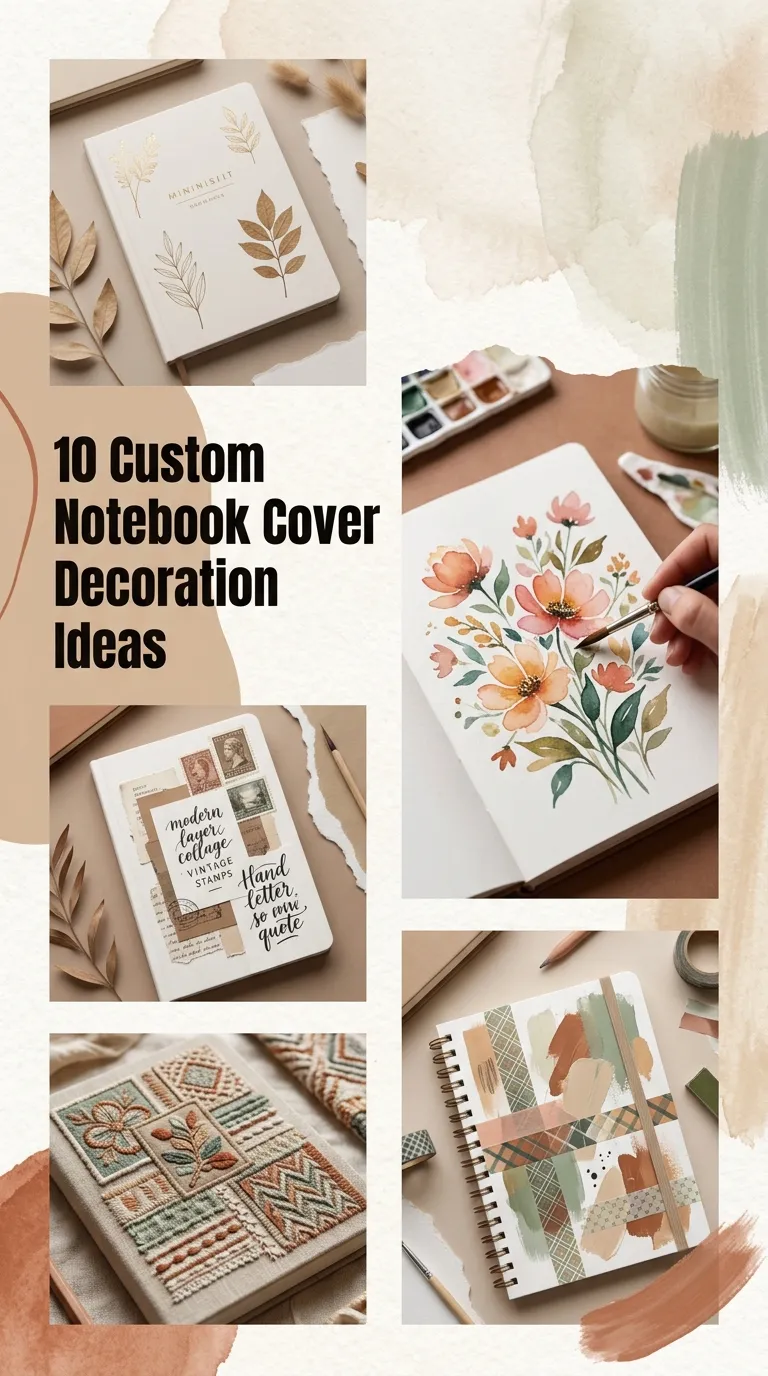
A blank notebook holds endless potential, but its plain cardboard or vinyl cover rarely matches the vibrant thoughts waiting inside. Upcycling your everyday stationery does not require expensive tools, messy glues, or advanced artistic training. Washi tape—a lightweight, Japanese paper-based adhesive tape—offers a mess-free, repositionable, and versatile medium to transform any ordinary journal, planner, or sketchbook into a personalized work of art.
Whether you lean toward clean geometric minimalism, cozy botanical aesthetics, or vibrant collage designs, these ten custom notebook cover decoration ideas demonstrate how a few rolls of decorative tape can completely revitalize your stationery collection.

1. Minimalist Color-Blocked Geometric Grids
Geometric layouts provide a structured, clean look that suits bullet journals and professional planners. By using rolls of varying widths in complementary pastel or monochrome shades, you can map out intersecting vertical and horizontal sections across the cover.
To execute this, use a self-healing cutting mat and a precision craft knife. Lay down broad blocks of solid-colored washi tape as base rectangles, then layer ultra-thin metallic or contrasting grid tapes across the seams. The crisp edges and architectural lines give basic kraft-paper notebooks an elevated, Scandinavian-inspired design that feels modern and uncluttered.

2. Herringbone and Chevron Woven Textures
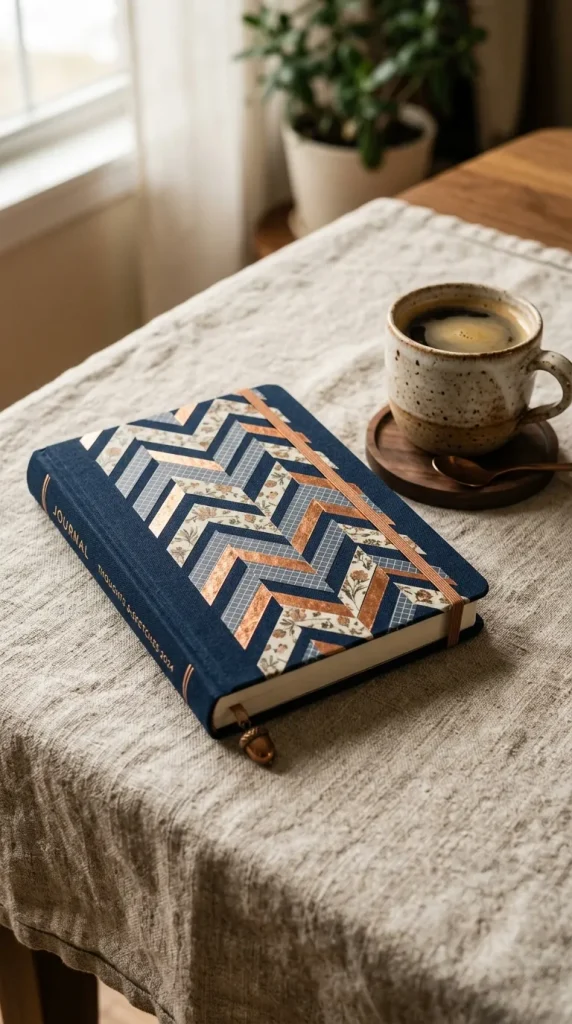
The herringbone pattern turns the smooth surface of a notebook into a dynamic, textured visual. This technique uses short, uniform strips of patterned tape angled against each other in alternating directions.
Begin by lightly penciling a straight vertical center line down your notebook cover. Cut 1.5-inch strips of tape with 45-degree angled ends. Align alternating left and right diagonal pieces along the central guideline, staggering complementary patterns like subtle houndstooth, solid muted tones, and micro-polka dots. The interlocking layout creates a woven, fabric-like finish that conceals scuffs on older journal covers.
3. Layered Botanical and Floral Collages
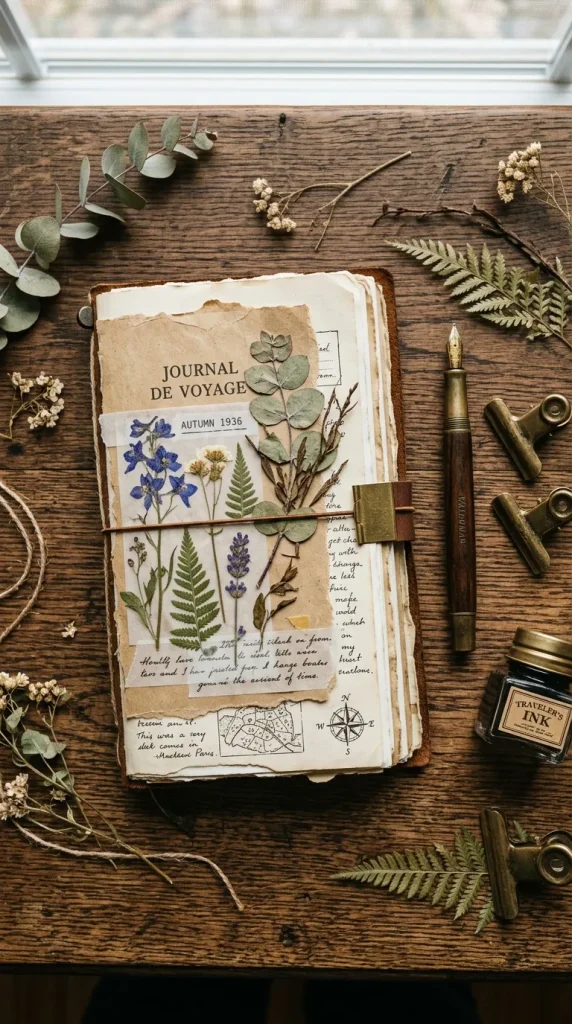
For a romantic, vintage feel, layered botanical covers celebrate natural forms and soft palettes. Translucent washi tapes printed with dried pressed flowers, eucalyptus branches, and fern leaves work best here when layered over textured craft paper.
Tear the edges of kraft paper or antique book pages by hand to create soft, deckled borders, and adhere them as a foundation. Overlay floral washi tape strips across the paper fragments, letting the semi-sheer tape blend into the background textures. Accent the layout with small stamps or calligraphy quotes to create the atmosphere of an authentic botanist’s field journal.
4. Crisp Negative Space Cutouts
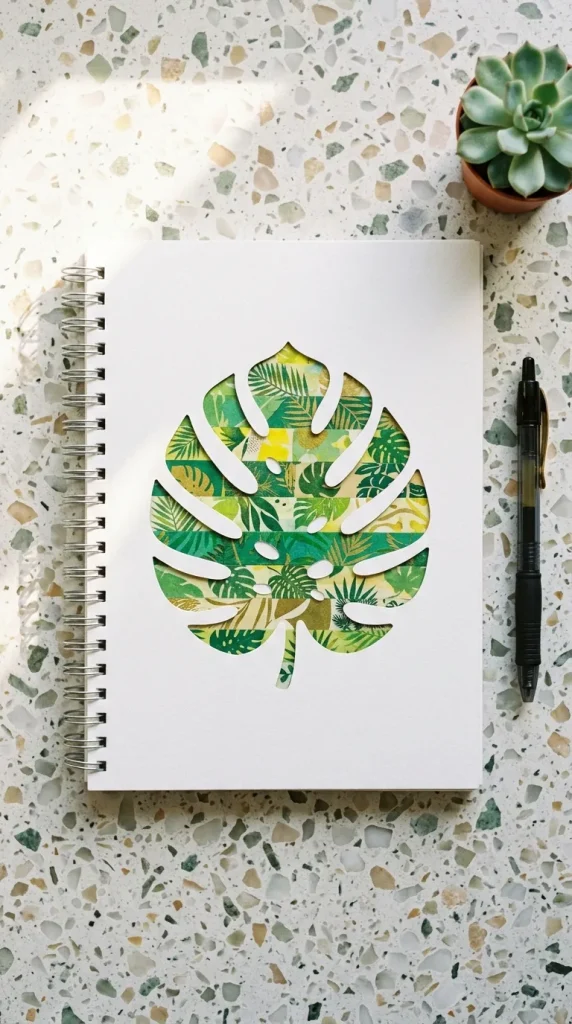
Negative space allows the original notebook cover color to become a deliberate part of the design. This technique involves masking specific silhouettes before laying down solid tape fields, or cutting intricate shapes directly out of patterned tape panels.
Apply broad bands of bold, decorative tape across the entire face of the cover. Trace a simple silhouette—such as a monstera leaf, a crescent moon, or your personal initial—onto wax paper, transfer the tape layer, and cut the shape out carefully with a craft knife before sticking it to the center of the journal. The crisp contrast between the bare notebook surface and the patterned foreground creates a focal point with high visual impact.
5. Abstract Torn-Paper Horizon Landscape
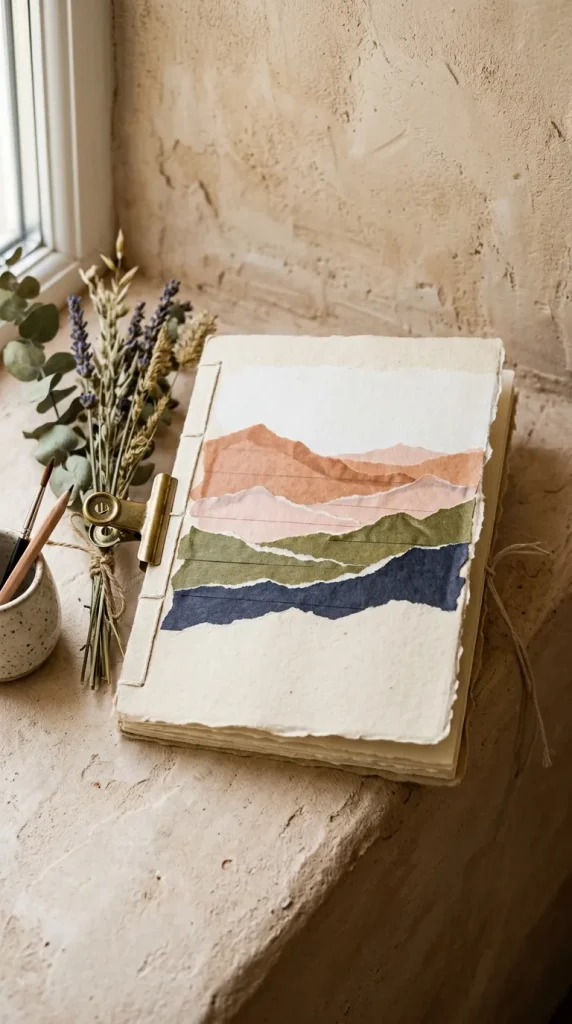
Washi tape tears easily by hand, creating raw, feathered white fibers along the edge that resemble natural terrain. You can use this characteristic to build a tranquil mountain or desert landscape across your notebook.
Start from the top with light blue, starry, or watercolor-wash tapes to create the sky. As you move down the cover, tear overlapping horizontal strips of dusty rose, terracotta, forest green, and slate gray tapes to mimic rolling hills, mountain ridges, or desert dunes. The rough, layered edges add tactile depth, transforming the notebook into a miniature scenic canvas.
6. Washi Mosaic Stained-Glass Window
Inspired by cathedral glass, the mosaic technique relies on small, irregular geometric tape fragments outlined by dark borders. This method is an excellent way to use up leftover scrap rolls of bright, patterned, or foiled tape.
Cut assorted washi tapes into small triangles, trapezoids, and diamonds. Arrange these colorful geometric facets across the notebook cover, leaving a narrow, uniform gap of approximately one millimeter between each piece. Once the surface is filled, use a slim 3mm black or metallic gold washi tape to trace along the gaps, framing each shard like the lead came of a stained-glass window.

7. Diagonal Sunset Ombré Stripes
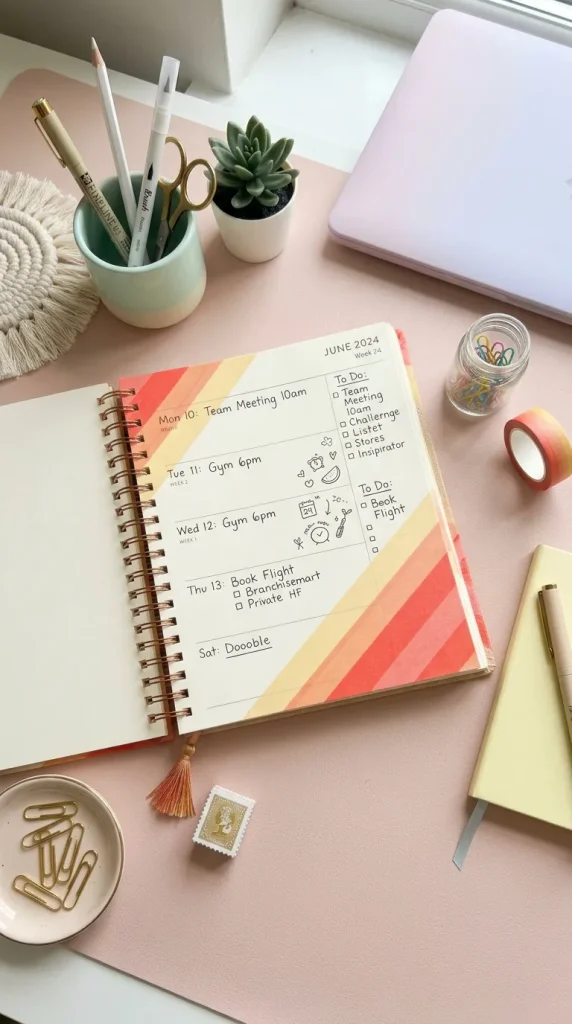
An ombré gradient brings energy and movement to everyday spiral-bound or composition books. By arranging tape strips that shift gradually from warm to cool tones, you can achieve a seamless color melt across a 45-degree angle.
Select five to eight rolls of washi tape that follow a strict color spectrum—such as deep crimson, coral, blush pink, goldenrod, and soft cream. Apply the longest strip diagonally across the exact center of the notebook from corner to corner. Work outward toward the opposing edges, aligning each subsequent color precisely against the previous strip without overlapping. Trim the excess flush against the cover edge for a polished, seamless wrap.
8. Framed Scrapbook Polaroid Frame
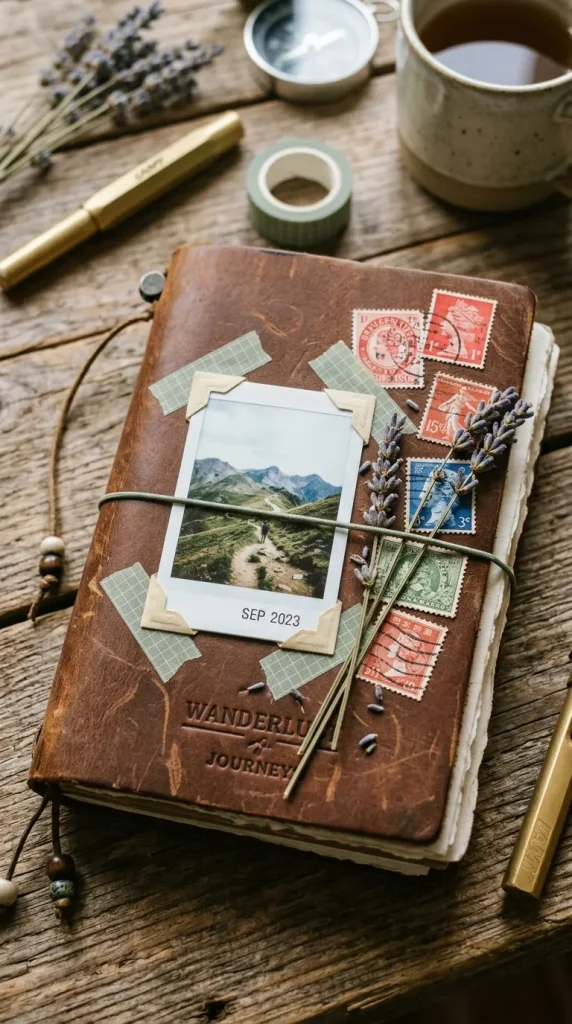
If you enjoy personalizing your journals with photos or inspirational art cards, a tape-crafted frame provides both structural adhesion and decorative charm.
Position a favorite mini photo, postcard, or hand-lettered quote card in the center of the cover. Instead of standard glue, secure the corners and edges with patterned washi tape cut into faux photo-corner brackets or layered into a double-border frame. Add small accent banners above and below the picture using solid-toned tape, offering space to write dates, titles, or travel destinations with an archival pen.
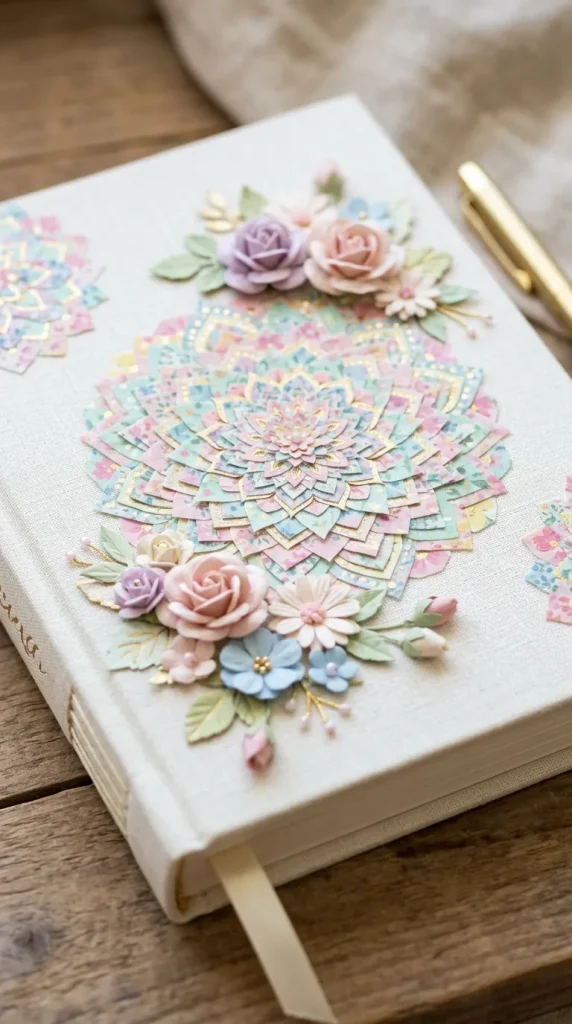
9. Intricate Washi Tape Sticker Origami Blossoms
Because washi tape is made from durable, flexible fibers, you can craft your own 3D decorative stickers and layered floral rosettes directly on the notebook surface.
Layer overlapping strips of tape onto non-stick parchment paper to create a wide sheet of patterned adhesive. Use precision scissors to cut petal, leaf, and diamond shapes. Peel the custom die-cuts off the backing and assemble them directly onto the notebook cover in radial patterns to form dimensional blossoms, stars, or mandala arrangements. Finish the center of each flower with a metallic tape dot or a tiny flat-back pearl.
10. Classic Border Accent with Spine Binding Wrap
If you prefer a refined, traditional aesthetic, you can mimic antique leather-bound books by highlighting only the spine and corner edges of your notebook.
Wrap a wide, textured metallic, dark faux-leather, or deep navy washi tape smoothly around the entire spine of the journal, burnishing the crease so it opens and closes easily. Next, cut diagonal triangles of matching tape to cover the four outer corners of the front and back covers. This classic library binding look protects high-wear zones while giving softcover or plain hardcover notebooks an elegant, vintage feel.