The first day of school sets the emotional tone for the entire academic year. While teachers spend late summer organizing supply bins, designing bulletin boards, and preparing lesson plans, stepping into a new classroom can bring equal parts excitement and nervous energy. Presenting an educator with a handmade gift crafted by their new student creates an immediate bridge of warmth, respect, and mutual enthusiasm.
Handmade gifts carry an authentic personal touch that standard store-bought items often lack. The following 10 DIY teacher appreciation crafts combine practical classroom utility with thoughtful student creativity, making them memorable keepsakes for the first day of school.

1. Personalized Crayon Monogram Shadowbox
A vibrant shadowbox featuring the initial of the teacher’s last name built entirely out of colorful crayons makes an eye-catching piece of desk decor.
- Materials: 8×10 shadowbox frame, box of 24 or 64 vibrant wax crayons, heavy cardstock, craft knife (adult use), hot glue gun or tacky craft glue.
- How to Make It: Print or trace a bold, large letter representing the teacher’s surname onto sturdy white or colored cardstock. Cut the crayons to fit within the letter’s outline using a utility knife, alternating shades across the spectrum for a rainbow gradient. Carefully glue the crayons down inside the lines, let dry completely, and mount the cardstock inside the shadowbox frame.
This craft is durable, visually cheerful, and serves as an instant conversation piece on a classroom bookshelf or teacher’s desk.

2. “Ready to Bloom” Hand-Painted Succulent Pot
Indoor plants bring life and fresh air to the classroom, and succulents are resilient enough to survive busy school weeks. A customized terracotta pot turns a simple houseplant into a daily reminder of growth.
- Materials: 4-inch terracotta pot, acrylic paints, paint pens, foam brushes, clear water-resistant sealant, low-maintenance succulent or mini snake plant, potting soil.
- How to Make It: Paint the exterior of the pot in a solid pastel tone or a ruler-inspired yellow base. Students can use paint pens to add simple geometric patterns, small painted flowers, or a handwritten greeting like “Ready to Learn and Bloom!” Once the paint dries, seal the pot with a clear waterproof spray to protect the artwork from moisture before potting the plant.

3. Wooden Ruler Desktop Pencil Caddy
Pencils and dry-erase markers have a habit of disappearing within the first week of class. This structured pencil caddy combines vintage classroom charm with high utility.
- Materials: Basic wooden or cardboard rectangular container (or clean soup can), four to six 12-inch wooden school rulers, wood glue or heavy-duty craft glue, handsaw (for sizing rulers), ribbon or twine.
- How to Make It: Measure the height of the container and trim wooden rulers into segments that match the height. Glue the ruler pieces vertically around the exterior of the box or can until fully covered. Wrap a rustic jute twine or grosgrain ribbon around the middle to secure it while drying. Fill the finished holder with brand-new sharpened pencils, highlighters, or dry-erase markers.

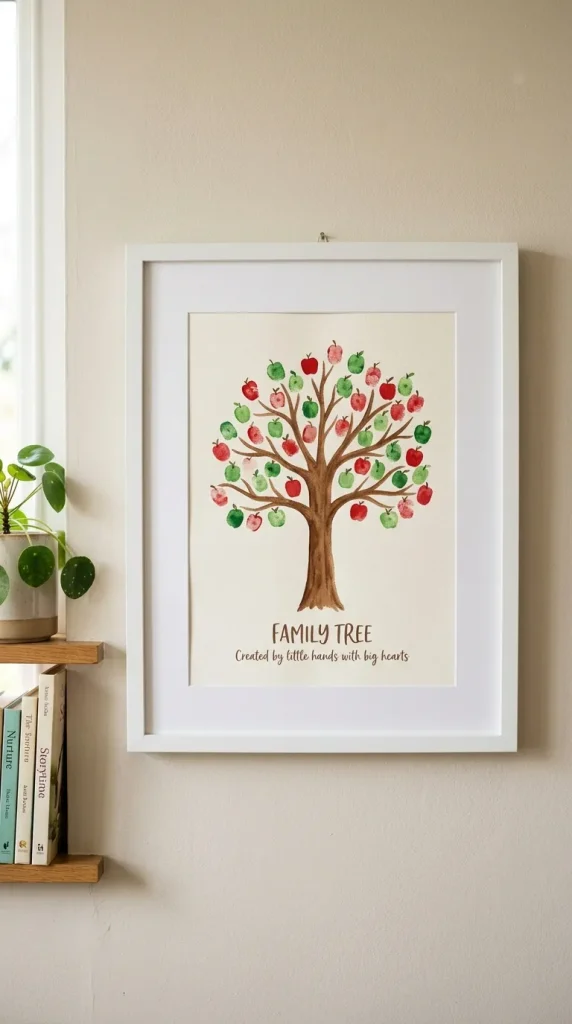
4. Fingerprint Apple Tree Art Print
Fingerprint art allows young students to leave a literal mark on their gift while creating a charming piece of framed art.
- Materials: 5×7 or 8×10 watercolor paper, brown acrylic paint or fine-tip black marker, red and green non-toxic stamp ink pads, picture frame.
- How to Make It: Sketch or paint a minimalist tree trunk and bare branches in the center of the paper. Have the student press their thumb into red ink and stamp “apples” along the branches. Use smaller index finger or pinky prints with green ink for the leaves. Have the student sign their name and the school year neatly in the bottom right corner before placing the art in a clean white frame.
5. Beaded Silicone ID Badge Lanyard
Teachers wear their ID badges and classroom keys every day. A custom-made lanyard made from soft, food-grade silicone and natural wood beads offers both comfort and style.
- Materials: Satin cord (approx. 36 inches), breakaway safety clasp, swivel metal lobster clasp, assortment of food-grade silicone beads and smooth wooden beads, alphabet letter beads for the teacher’s name.
- How to Make It: Fold the cord in half and attach the swivel clasp using a slip knot. String the beads symmetrically, placing the alphabet beads spelling the teacher’s name near the lower third of the design. Finish by attaching the breakaway safety clasps at the top ends with secure double knots.

6. Stenciled Canvas Book Tote
From taking grading stacks home to carrying library books, an educator can never have too many heavy-duty tote bags.
- Materials: Heavyweight plain natural canvas tote bag, fabric acrylic paint, stencils (alphabet, books, or apples), textile medium, foam stippling brushes.
- How to Make It: Place a sheet of cardboard inside the tote to prevent paint bleeding to the back side. Secure the chosen stencil across the center with painter’s tape. Have the student dab fabric paint lightly over the stencil openings using an up-and-down stamping motion. Once dry, heat-set the design with an iron according to the fabric paint instructions.

7. First-Day Classroom “Survival Kit” Mason Jar
This functional gift acts as a mini emergency kit for minor classroom mishaps, stocked with daily essentials.
- Materials: Wide-mouth 32 oz mason jar, chalkboard label, travel-sized toiletries (hand sanitizer, lip balm, stain remover stick, mints, adhesive bandages, headache relief, hair ties, tea bags).
- How to Make It: Decorate the lid with patterned fabric or a coat of acrylic paint. Write “Classroom First Aid & Comfort Kit” on the chalkboard label and affix it to the jar. Neatly arrange the mini emergency items inside, filling gaps with individually wrapped hard candies.

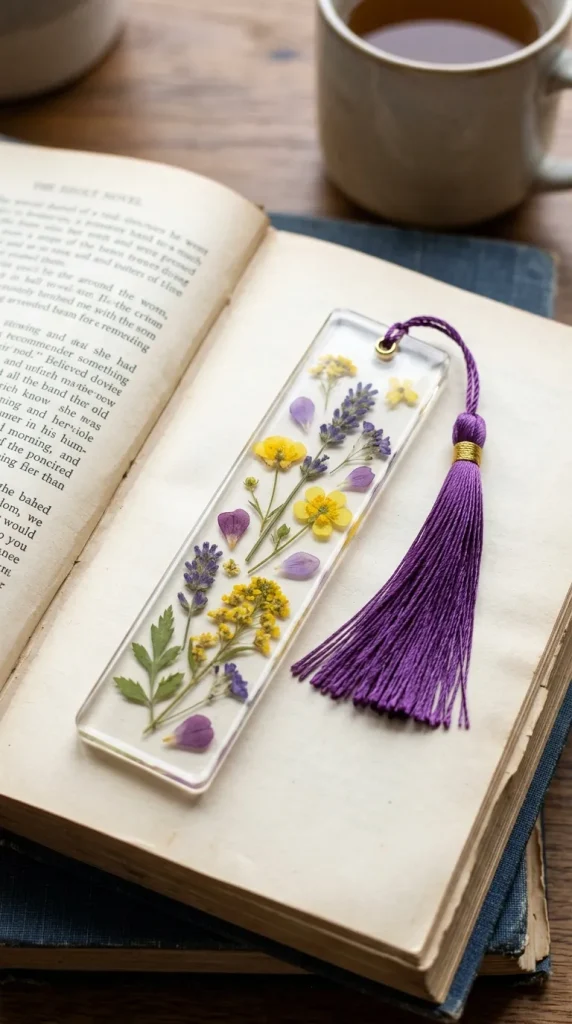
8. Pressed Botanical Resin Bookmark
Teachers read constantly, and a durable, translucent resin bookmark keeps pages marked without damaging book spines.
- Materials: Flat pressed flowers/leaves, clear UV craft resin or self-laminating sheets, silicone bookmark molds, UV lamp (if using resin), hole punch, satin ribbon tassel.
- How to Make It: Arrange dried, pressed flowers inside the silicone bookmark mold. Pour clear UV resin carefully over the botanicals, popping any bubbles with a toothpick, and cure under the UV lamp for 2–3 minutes until rock-solid. Thread a matching satin ribbon through the top hole for an elegant finish.
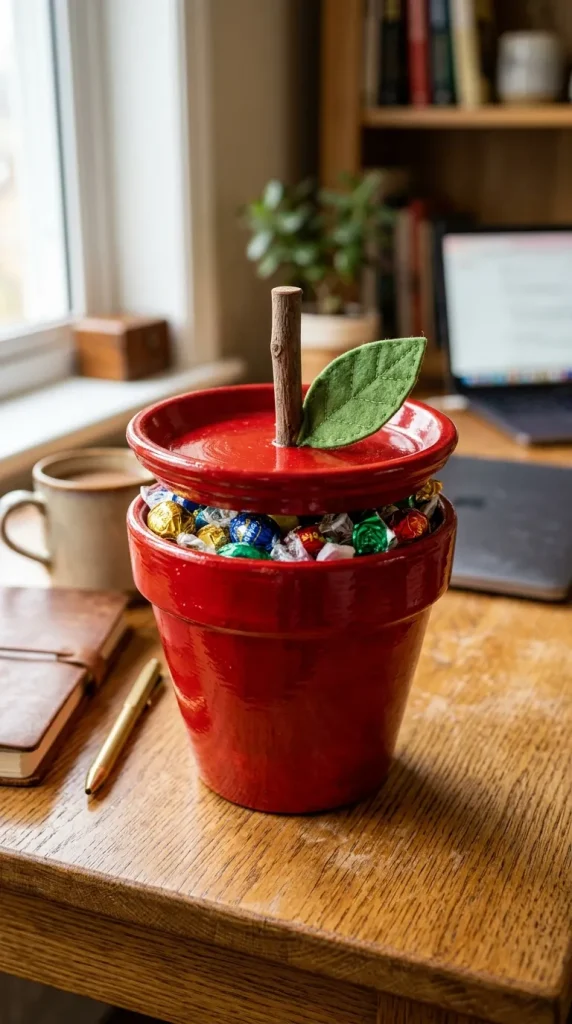
9. Inverted Clay Pot “Apple” Desk Candy Dispenser
A whimsical desktop decoration shaped like a bright red apple that doubles as a candy bowl.
- Materials: Small 4-inch terracotta pot and matching saucer, bright red acrylic paint, small wooden spool or twig (for the stem), green felt leaf, clear non-toxic sealer, wrapped chocolates or mints.
- How to Make It: Paint the exterior of the pot and saucer with two coats of bright red paint. Glue a short wooden twig or painted wooden spool to the bottom of the inverted saucer to serve as the apple’s stem, adding a small cut green felt leaf beside it. Once sealed and dry, set the pot right-side up, fill with treats, and place the inverted saucer on top as the lid.
10. “Hopes for the Year” Wish Jar with Student Notes
A purely sentimental craft designed to offer emotional support throughout the year.
- Materials: Clean glass jar with an airtight lid, colorful origami paper or heavy cardstock strips, gel pens, decorative ribbon.
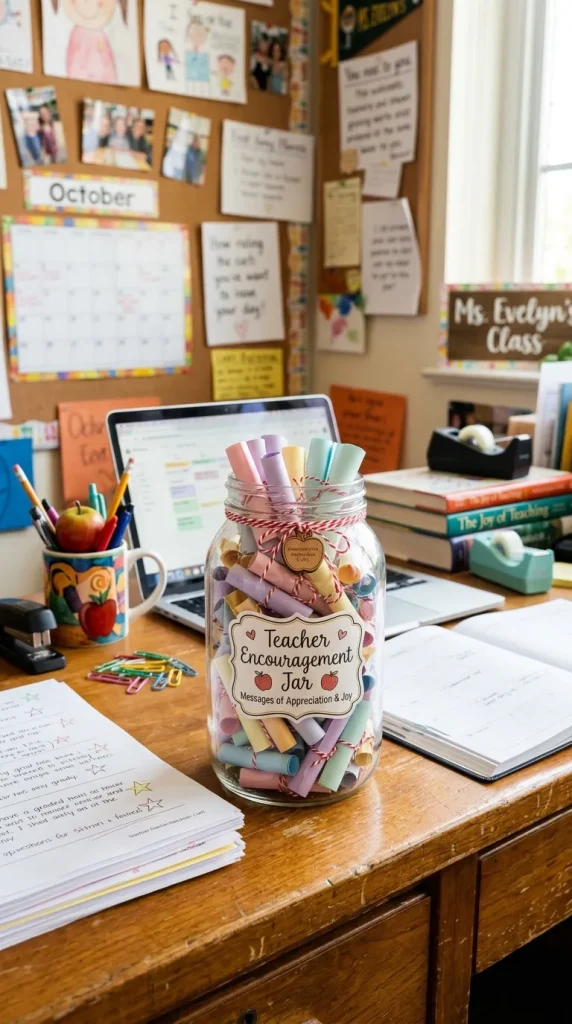
- How to Make It: The student writes 10 to 15 short, thoughtful prompts on individual slips of paper, such as “Thank you for teaching me this year,” “I can’t wait to learn science with you,” or “Take a deep breath and have a great afternoon!” Fold or roll the notes into mini scrolls, tie them with baker’s twine, and place them inside the decorated jar with a label instructing the teacher to open one whenever they need a quick pick-me-up.