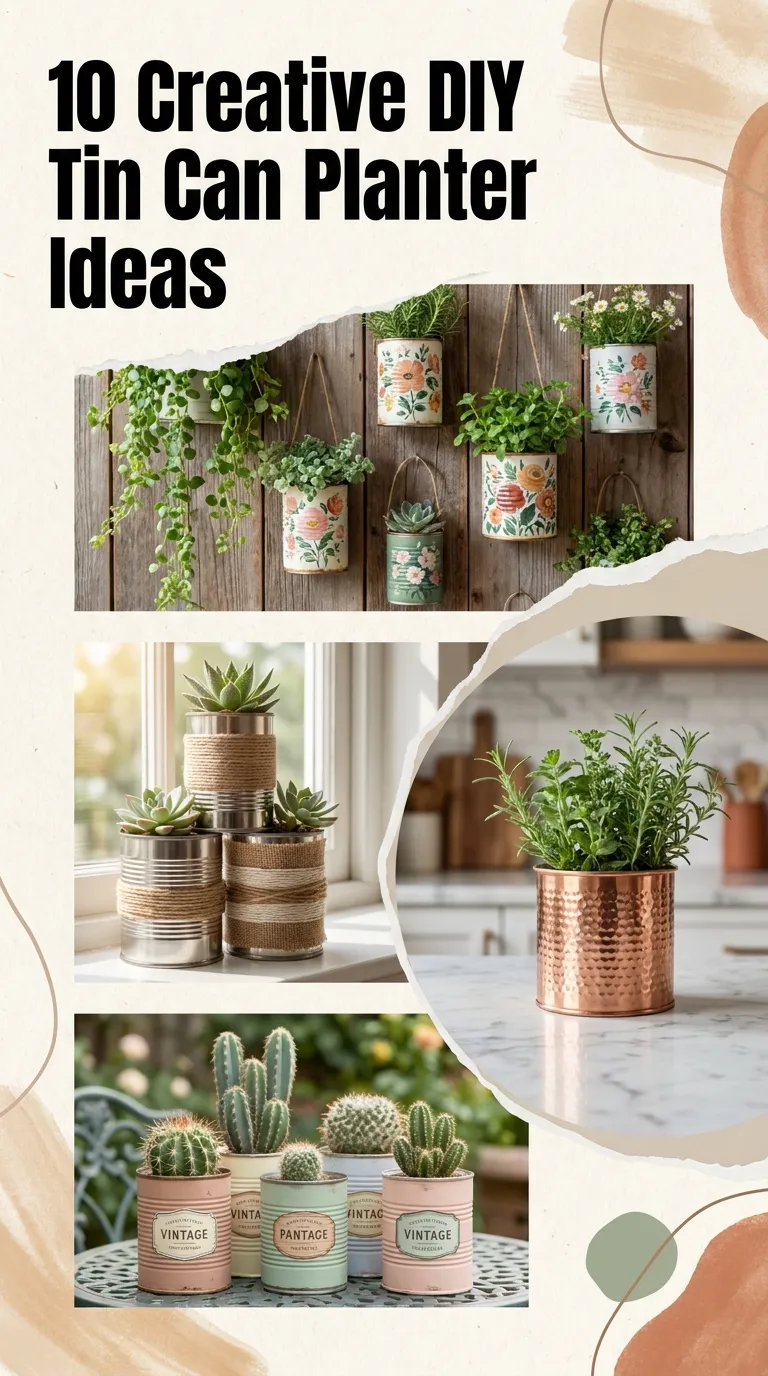
There is an undeniable charm in having fresh, aromatic herbs within arm’s reach while cooking. Whether it is plucking fresh basil for a homemade pasta sauce or snipping rosemary to finish roasted potatoes, an indoor kitchen herb garden elevates both your culinary adventures and your home decor.
You do not need an expensive garden setup or bulky ceramic pots to make this happen. Empty food and coffee cans—items destined for the recycling bin—can be easily transformed into stylish, functional mini planters. Upcycling tin cans is budget-friendly, environmentally conscious, and a creative way to add character to your kitchen windowsill.
Here is everything you need to know about preparing tin cans for planting, followed by 10 creative DIY ideas to inspire your indoor herb haven.
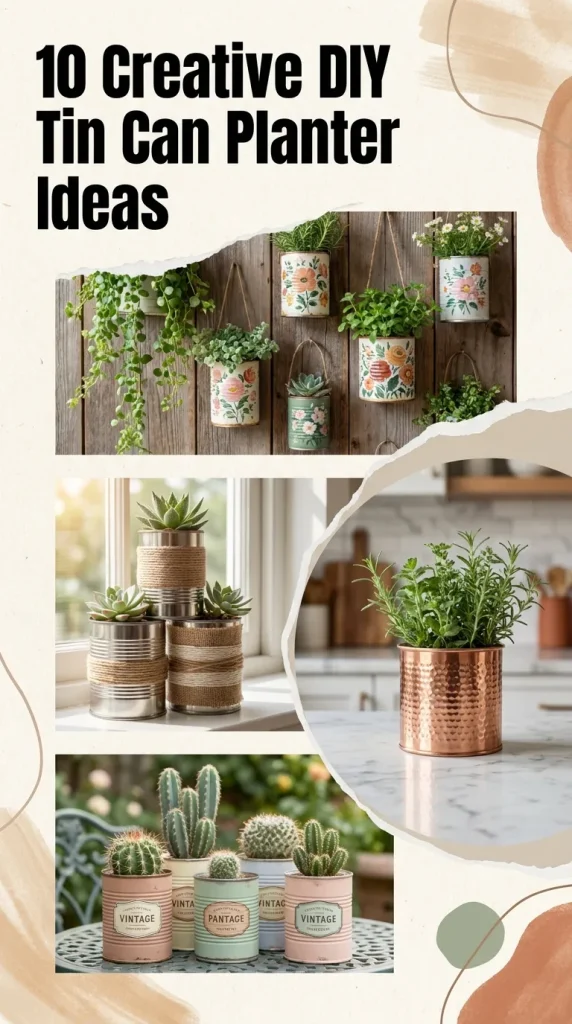
1. Rustic Matte Chalk-Painted Herb Pots
Matte chalk paint creates a soft, modern farmhouse aesthetic. Paint your clean cans in muted, earthy tones like sage green, linen white, warm charcoal, or soft terracotta. Once dry, you can use fine sandpaper to lightly distress the raised ridges of the can, exposing hints of metal underneath for a vintage touch.
- Best For: Basil, flat-leaf parsley, and chives.
- Styling Tip: Label each can with hand-lettered chalk pens or small wooden herb markers.

2. Textured Jute & Twine Wrapped Planters
Adding natural textures brings warmth into modern and minimalist kitchens. To create this look, secure the end of a roll of natural jute twine to the bottom rim of a tin can using hot glue. Wrap the twine tightly around the can, applying thin lines of glue every few rows to keep it in place until you reach the top rim.
- Best For: Thyme, oregano, and winter savory.
- Styling Tip: Group three different heights together—such as a tomato paste can, a soup can, and a large coffee can—to create visual rhythm.

3. Sleek Brass & Gold Dipped Accents
If your kitchen features modern, Scandinavian, or glam hardware, metallic accents will tie your herb garden directly into the space. Spray-paint the entire can a crisp, satin white or matte black. Once fully dry, use painter’s tape to mask off the bottom third at a diagonal or straight line, then spray with rich metallic gold or brushed brass paint.
- Best For: Upright rosemary, mint, and cilantro.
- Styling Tip: Place these on a polished marble windowsill or next to gold kitchen fixtures.

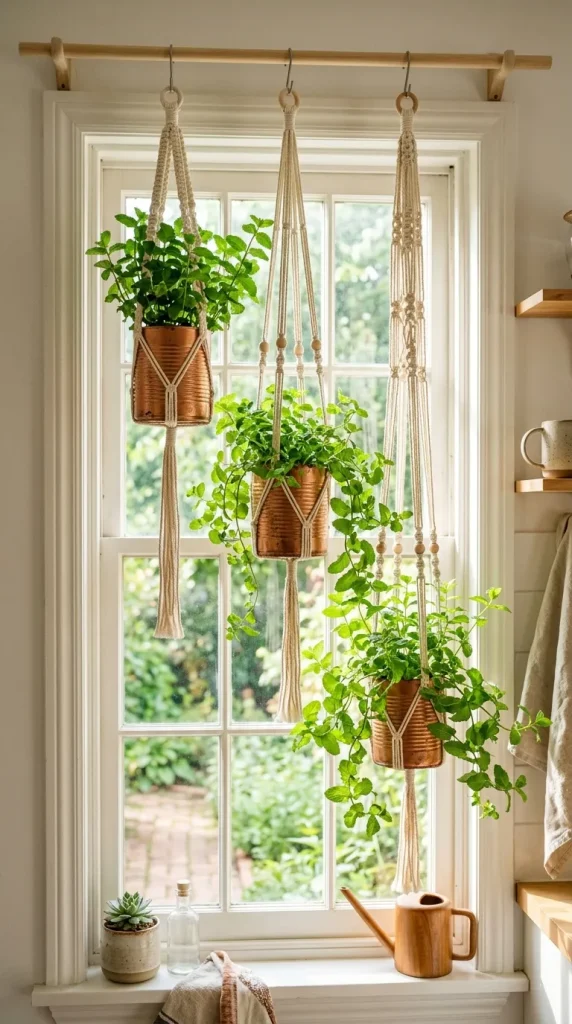
4. Hanging Copper Macramé Tin Can Trio
Vertical gardening is ideal for compact kitchens with limited counter space. Spray your tin cans in a rich, warm copper finish. Knot simple macramé plant hangers using light cotton cord, or punch two holes near the top rim of the can and thread a leather cord through to hang them directly from a curtain rod or ceiling hook.
- Best For: Trailing herbs like creeping thyme or mint.
- Styling Tip: Hang them near a bright, south-facing kitchen window at staggered heights.
5. Magnetic Refrigerator Herb Tins
Turn the side of your refrigerator or a metal backsplash into a living vertical garden. Using wider, shallow cans (like tuna or salmon cans), thoroughly clean and paint them in your favorite accent colors. Attach heavy-duty neodymium craft magnets to the back using high-strength adhesive (such as E6000).
- Best For: Shallow-root herbs like microgreens, baby chives, or dwarf basil.
- Styling Tip: Arrange them in a neat geometric grid or a playful honeycomb pattern.

6. Vintage French Decoupage Botanical Pots
Give your kitchen vintage Parisian elegance using decoupage. Paint the exterior of your cans with white acrylic paint to create an opaque canvas. Using Mod Podge, adhere delicate botanical illustrations, vintage floral napkins, or antique French recipe book pages to the can. Seal with a water-resistant clear coat.
- Best For: French tarragon, lavender, and sweet marjoram.
- Styling Tip: Display along a rustic open kitchen shelf beside antique glass spice jars.

7. Mounted Wooden Kitchen Sconce Planters
Turn your herb garden into wall art. Take a weathered wooden plank or reclaimed pallet board and mount it vertically on an empty kitchen wall. Secure clean, painted tin cans to the wood using adjustable stainless steel pipe clamps or leather straps screwed directly into the board.
- Best For: Sage, cilantro, and rosemary.
- Styling Tip: Paint the cans a uniform color, such as matte black, to contrast against the warm, reclaimed wood grain.

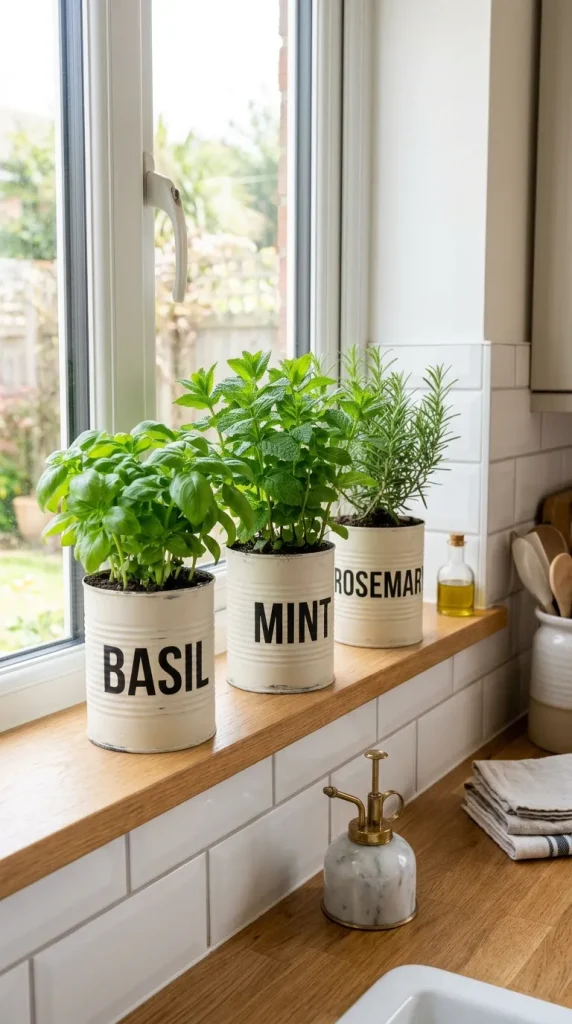
8. Playful Stenciled Typography Herb Tins
For a clean, graphic look, use modern typography. Paint the cans in a uniform neutral color, such as off-white or soft gray. Using adhesive stencils or custom vinyl lettering, label each can directly with the herb’s name and a minimalist culinary icon (like a small chef’s hat or a leaf silhouette).
- Best For: Dill, curly parsley, and sweet basil.
- Styling Tip: Line them up across a narrow floating spice ledge above the prep station.
9. Ombré Pastel Gradient Planters
Brighten up a sunlit kitchen with a soft pop of color. Choose two or three coordinating acrylic colors (such as blush pink transitioning into soft coral, or sky blue into seafoam green). Use a damp sponge to blend the shades together along the ridges of the can, creating a smooth, dreamy ombré fade from bottom to top.
- Best For: Lemon balm, chamomile, and mint.
- Styling Tip: Place them on a bright white tiled windowsill to catch morning sunlight.

10. Industrial Wire Basket Tiered Stand
Create a self-contained tabletop centerpiece using an upcycled two-tier wire fruit basket. Strip the labels off various ribbed tin cans, lightly sand them for a galvanized metal look, and stamp vintage numbering on each. Fill the cans with herbs and arrange them tightly within the tiers of the wire basket.
- Best For: Mixed herb collections (basil, thyme, oregano, chives, mint).
- Styling Tip: This setup can be moved effortlessly from the counter directly to the dining table during dinner parties.